Linux Easily Native Desktop Environment from Windows
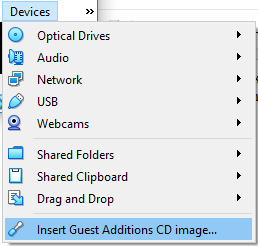
The point of this post is to explain how to make a useful Linux desktop experience on Windows 10 in VirtualBox. The installation of the OS and VirtualBox Guest tools (which I show the menu item for below) is up to you.
Desktop
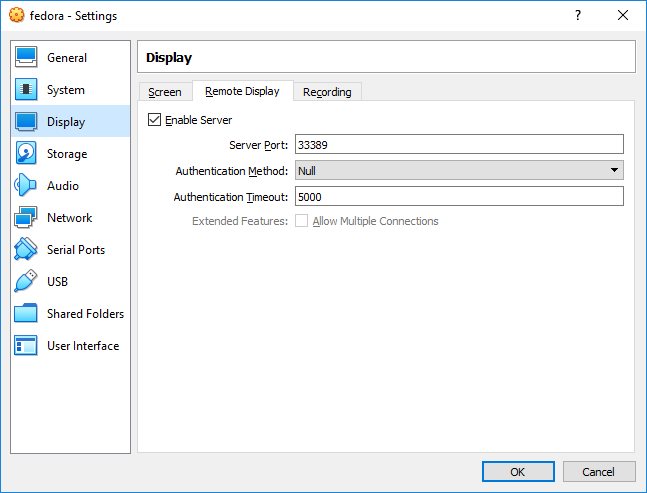
After this, we want to shut down the VM and enable remote desktop in VirtualBox:
And connect to it by running ‘mstsc’ and typing the localhost IP and the port - you may have to play with port numbers to get around restrictions:
After connecting, it immediately went into full screen mode at the right resolution (I assume the sound works as well - though I haven’t tested it).
PS - you may want to run inside of Windows Remote Desktop for no other reason that CTRL-R reboots VirtualBox VMs and doesn’t have a chance to give you bash command search :(
SSH
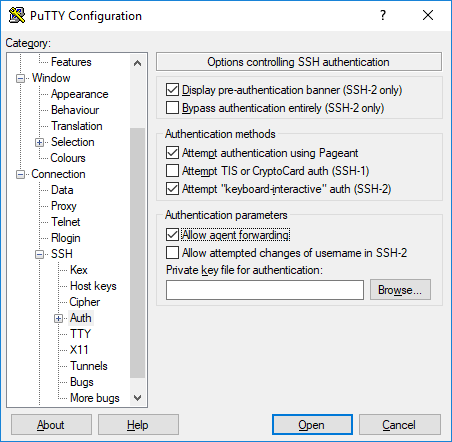
Next I’ll cover using putty to create a background connection that forwards the keys in pagent onto the VM, writes an agent export file, and gets the shell to use it.
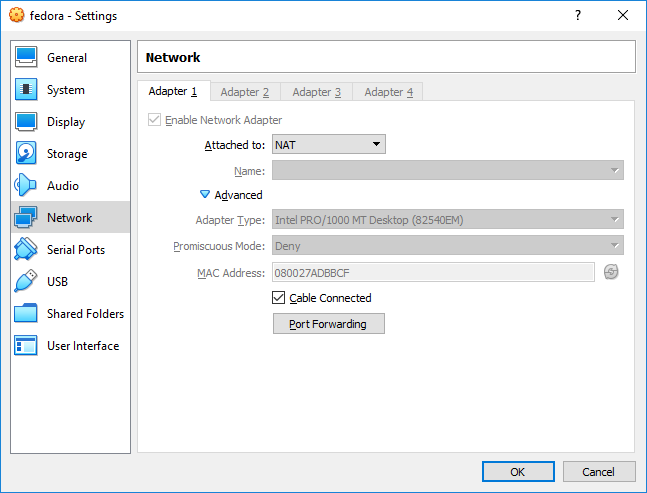
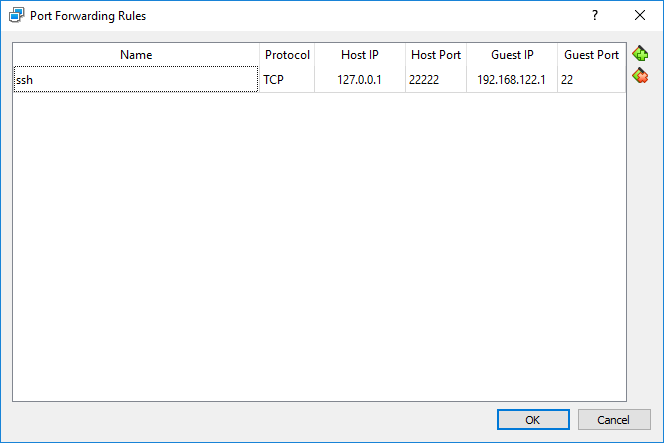
Most Linux distros natively run an ssh server on port 22 - I’ll assume yours is (netstat -tap | grep ssh to find out). You then use VirtualBox to forward the port outside and setup a connection to it:
And then use the IP from the machine and localhost to get you a path in:
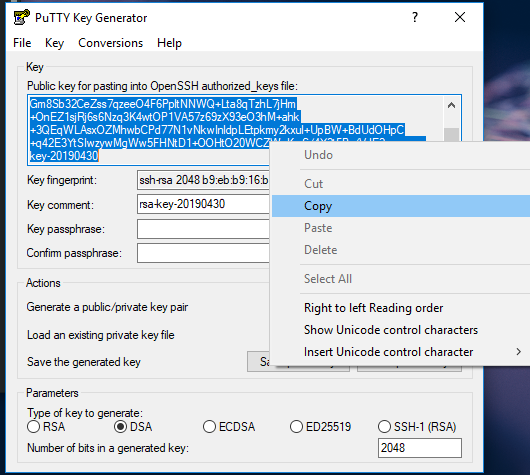
Install putty if you haven’t already. Use PuttyGen to generate a key:
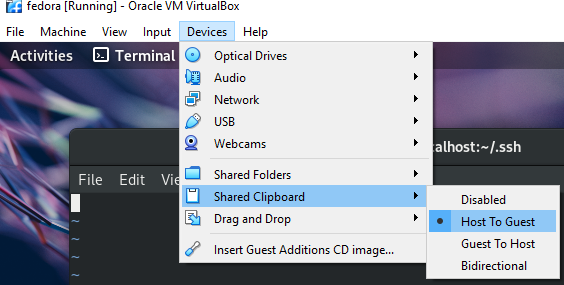
Save the private side for putty to use and copy the public side into the VM (enable keyboard sharing for this - probably disable afterwards):
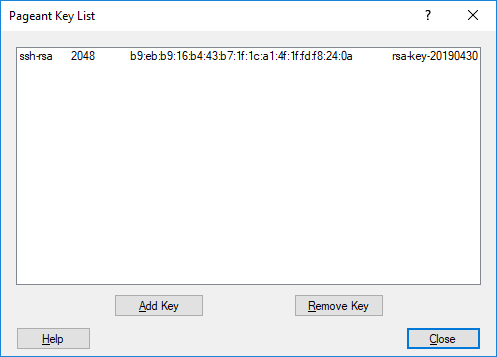
And paste it into ~/.ssh/authorized_keys with your favorite terminal/editor. After this, you’ll want to load the key you saved with PuttyGen into PAgent (I may go into auto loading PAgent with keys later - but for now):
And then create a new connection with putty - specify
Make sure you save the connection and then test it out:
You want this to work automatically (without prompting you for a password or anything) so if it doesn’t go back and try again.
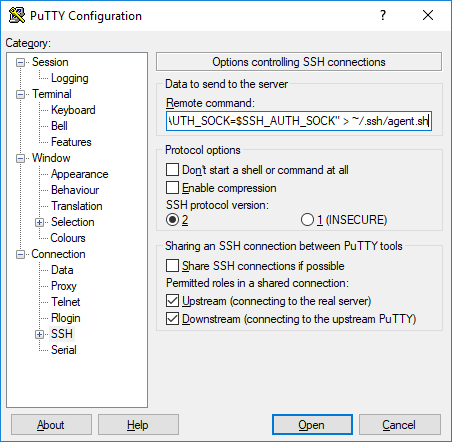
The next step, we steal an old trick from keychain 0 where we place a file that when sourced, exports a variable pointing to the ssh-agent socket file - which is all I need to get everything from PAgent over to ssh-agent. So, in our putty setup, we run this command:
Or:
1
echo "export SSH_AUTH_SOCK=$SSH_AUTH_SOCK" > ~/.ssh/agent.sh; sh
You may want to create a new putty session for this - or not. You may run into issues if you connect multiple of these sessions at the same time, as you’ll continuously overwrite the agent.sh file (which presumably shell sessions you have open in your mstsc window will have read) and then you’ll presumably close out these putty sessions which will take the socket file with it, hence messing up your agent. So, whatever solution you want to prevent yourself from closing out socket files - do that :)
Now, open up your shell’s rc file and enter the following:
1
2
3
4
5
if [[ -n "$SSH_AUTH_SOCK" && -S "$SSH_AUTH_SOCK" ]]; then
  echo "export SSH_AUTH_SOCK=\"$SSH_AUTH_SOCK\"" > $HOME/.ssh/agent.sh
else
  source $HOME/.ssh/agent.sh 2>/dev/null
fi
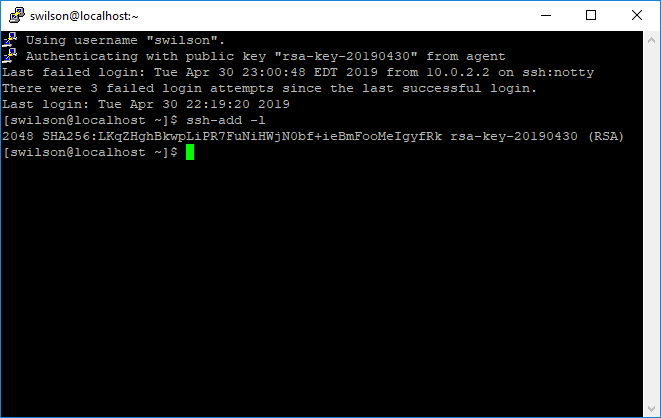
And you can test all this with: ssh-add -l
Smartcard SSO
This is a discussion - I don’t have a solution for this.
It is theoretically possible to just relay a whole card: https://github.com/frankmorgner/vsmartcard/tree/master/pcsc-relay/win32
However, chrome now supports remote debugging features well enough that just using chrome natively inside / outside the VM should be able to give you a proxy that looks like it’s natively supporting unlocking a hardware cert.
Google has a remote desktop thing that runs inside chrome that uses this - but you need to call out to them to do the initial handshake (so a non-starter for me): https://www.computerworld.com/article/3230909/chrome-remote-desktop-access-remote-computer-easily.html But this may work - haven’t tried it: https://developer.mozilla.org/en-US/docs/Tools/Remote_Debugging/Chrome_Desktop But the basic idea is, if the remote browser hits an SSO site, it’ll trigger the proper hardware response which will trigger the middleware (which /should/ get focus even if you’re in full screen mstsc) and you can enter your pin and the cookie action will happen like it should, and you get access.
